Prototyping Philosophy
We try to prototype only for problems that we haven’t dealt with before - like how to interface with a game piece or element. We don’t prototype things like a telescoping arm or other systems that we already have experience developing.
At the start of the week, we split into 5 mechanical prototyping groups plus one programming prototyping group. I’m going to go over each group one by one.
Shooter
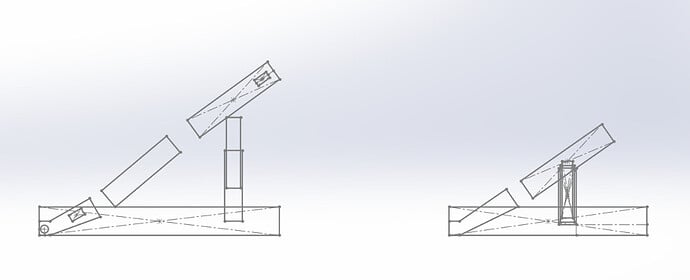
This prototyping group focused on creating a feasible shooter design for our robot. After some discussion, they settled on starting with a design similar to the shooter featured on the kitbot.
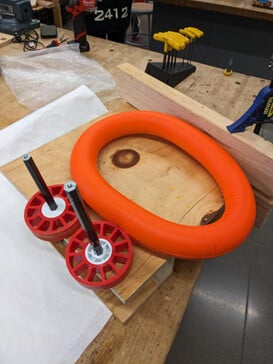
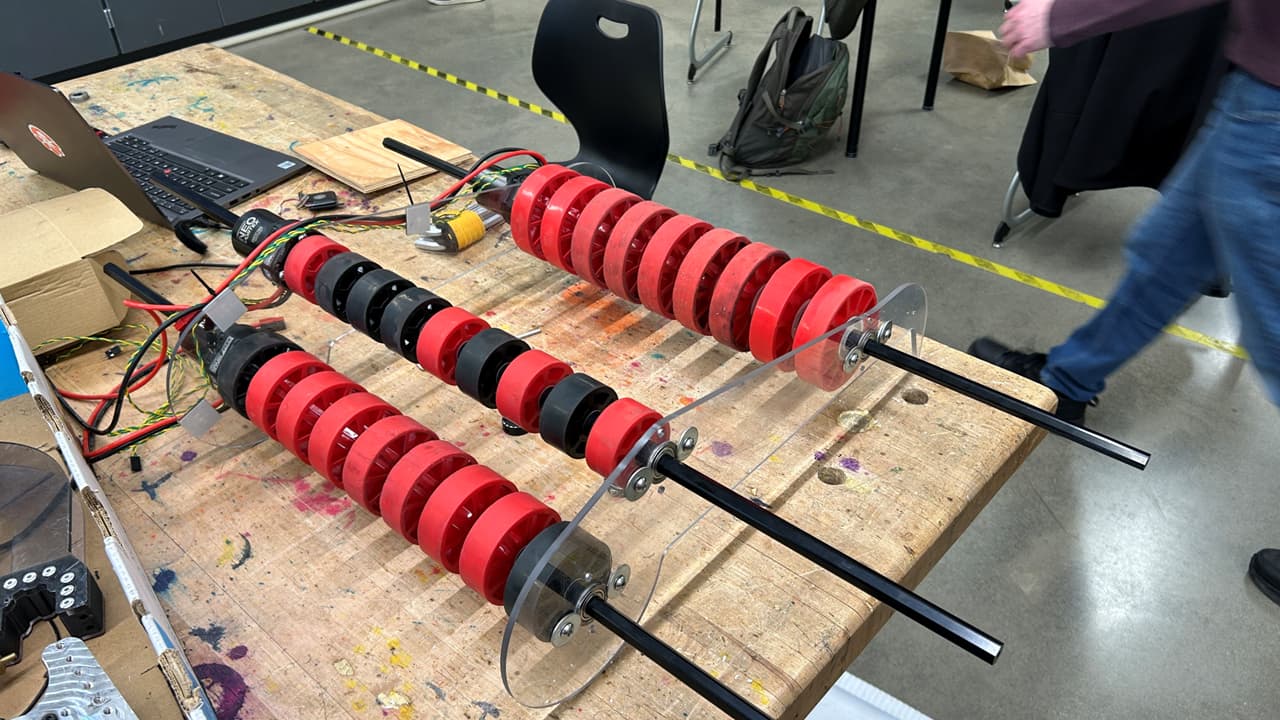
The shooter group’s first prototype
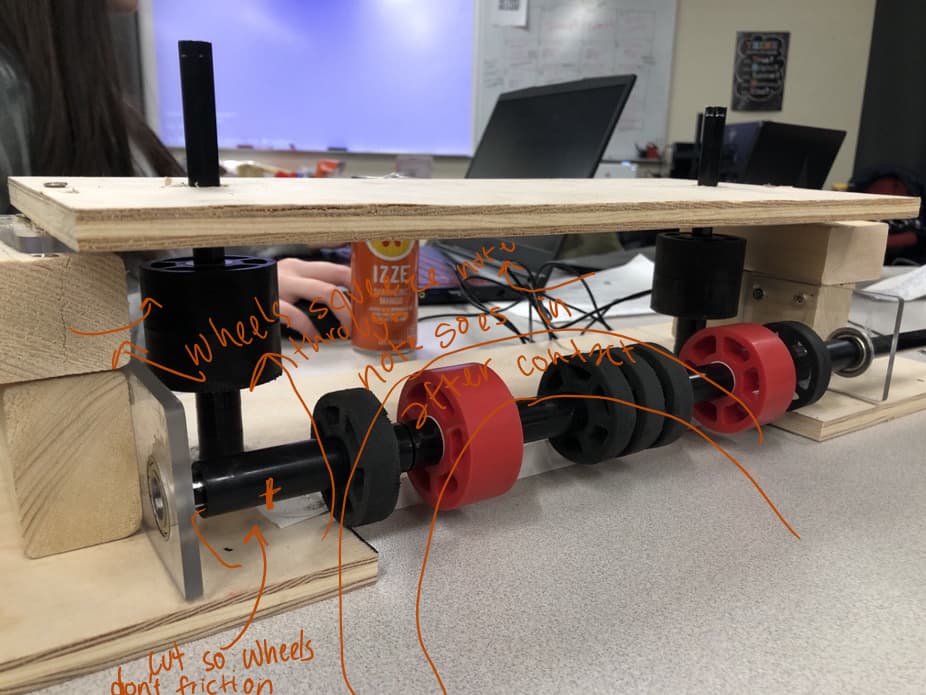
After this initial prototype, they iterated by replacing the wall with more wheels. Then, they drove each side with NEO Vortexes. They experimented with using solid rubber wheels, but accidentally found that the wheels simply couldn’t handle the RPM.
Ultimately, using compliant wheels with 5 inches of compression proved very effective with this prototype. One side was driven at a slightly lower RPM so that the note would have some spin as it exited the shooter. According to their testing, roughly 5-10% difference in power between each side was ideal for stability. The distance traveled by the note was consistent although sometimes the note would drift sideways in the air.
Shooter + Amp
The next prototyping group was directed to create a design that could score in both the speaker and amp. However, pretty soon the group found that its concepts could also be applied to work as an intake as well as a shooter. Their first concept involved an under-the-bumper intake-shooter combo attached to an arm that could raise to score in the amp.
One of this group’s initial prototypes, with a reminder to always wear safety glasses. This video was posted as one of our Instagram reels and as of now has 12.4 million views!
However, the group found that the rollers would accelerate too slowly when the note was loaded to function as a shooter. Their next designs continued their concepts of an intake-shooter combo, but these designs allowed for a note to be held away from the wheels to allow them to spin up before the note is sent through. These designs also did away with the arm.
This design intakes from all sides of the robot. Before the notes are shot, they are held against the ground in the center of the robot. Lift kits are used on the swerve modules to gain a few extra inches of clearance. While the group did test scoring in the speaker with a similar design, scoring in the amp was never tested.
Intake + Amp
This group’s assignment was to prototype a design that could function both as an intake and as an amp scorer. Their first idea was to use two sets of rollers with tread between them to intake and hold the notes until they could be scored in the amp. This design would be attached to a pivoting arm to allow the height required.
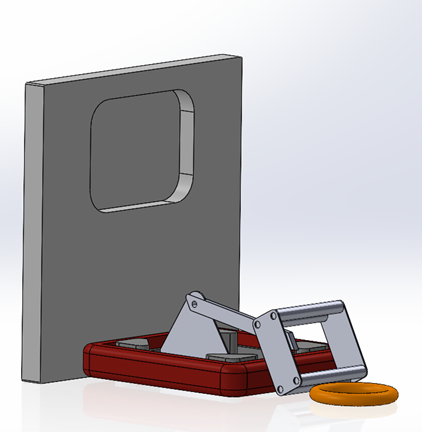
The design intaking
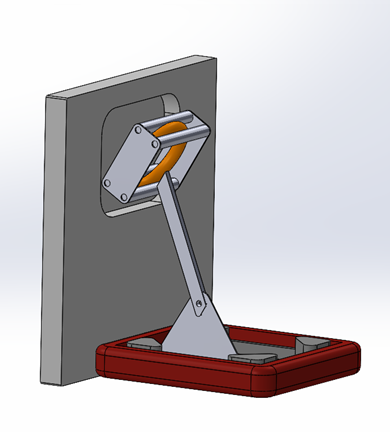
The design scoring in the amp
This concept proved to be simple and effective. A little while into prototyping, this concept was actually applied on the Unqualified Quokka’s Ri3D team 2, proving the design could work.
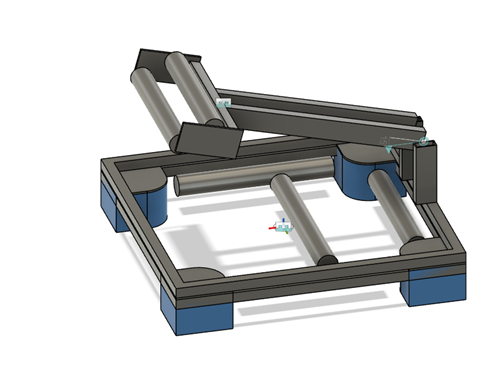
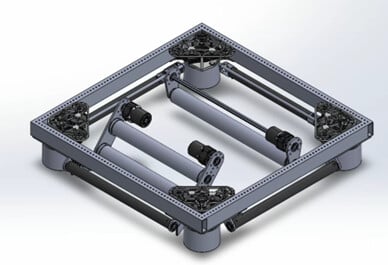
Ground Intake
This group was tasked with coming up with an optimal intake design. They choose to go the under-the-bumper router, using rollers and compression to lift the note off the ground.

This group also experimented with how their intake design could integrate into a larger robot.
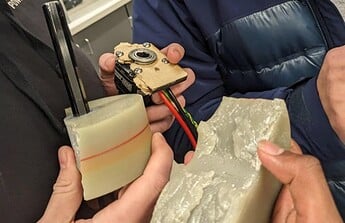
Climb + Trap
Since we didn’t have a chain to reference yet, this group had trouble actually coming up with things to prototype. In the end, most of this group was dissolved into other groups with few members sticking behind to come up with insights and concepts that could later be applied to the real robot. In the end, they recommended using two climb-in-a-box kits with high-grip hooks to lift the robot up on the chain. For trap scoring, they recommended the arms be off-center, so the robot leans into the core of the stage. To open the trap, they suggested some kind of linear actuator that interfaces with whatever scoring system is chosen. They also found a Ri3D team that had a similar climb design as they had brainstormed. 2
Programming Prototyping
While most of our programmers join mechanical prototyping groups to advise their work, a few programmers stayed behind to research new programming concepts.
This year, our programming prototype group focused on researching Yet Another Generic Swerve Library (YAGSL) 1, pose adjustment with AprilTags, and game piece detection using Limelight’s new neural network features.
Since coming across YAGSL, our programming group has wanted to try it out. The first year we used swerve, we used Swerve Drive Specialties’ swervelib to drive our modules. Last year, we switched to WPILib’s swerve implementation. In both those cases, our drivebase code ended up moderately messy. We were really hoping that by switching to YAGSL we could cleanup our side of drivebase code and leave the nitty-gritty details to YAGSL.
Unfortunately, as CTRE just released Phoenix 6 API to all, we found the 2024 version of YAGSL to be pretty buggy with this big switch-up. We ended up spending nearly the whole week debugging. However, by the end of the week, we did have a working robot. For those also trying to get YAGSL working on their robot, check out our repository for an example of a working implementation. 5 I’ve also submitted a few PRs to YAGSL’s repository to help clean up some of their bugs.
Game piece detection was quite quick to setup. We used our v1 limelight with Coral’s AI accelerator 3 to speed up the game piece detection. At the end of the week, we were working on generating paths to drive the robot directly to the game pieces, but we weren’t quite able to finish in time. We’ll continue exploring this further into the season.
That just about wraps up this massive update! See you soon as we continue into build season!